Jewelry is more than an accessory; it’s an expression of style and personality. Maintaining your precious heirloom or trendy fashion piece tarnish-free is key. Many TikTok videos proclaim clear nail polish as a new hack to prevent jewelry tarnishing, yet its effectiveness remains unknown. In this article, we’ll examine this common practice and its effectiveness.
The Science Behind Tarnishing
Before delving deeper into how clear nail polish works, let’s understand why jewelry tarnishes in the first place. Tarnishing results from reactions between metals and oxygen or sulfur compounds present in their environment and this corrosion reaction on metal surfaces; gives a dulled appearance to jewelry pieces.
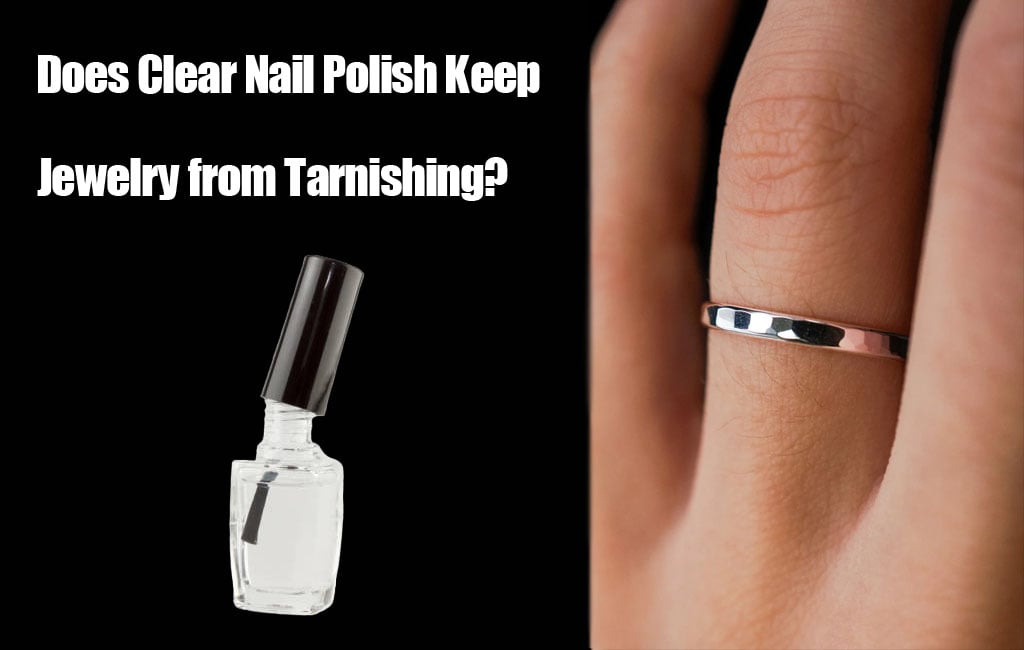
Does Clear Nail Polish Keep Jewelry from Tarnishing?
Clear nail polish can help protect jewelry from tarnishing. By acting as a barrier between it and its surroundings, clear nail polish provides a protective shield that will keep it looking brand new for longer.
Here’s how you can use it effectively:
Apply a Thin Coat: To protect your jewelry, apply an even coat of clear nail polish over all areas that come into direct contact with skin, such as rings, bracelets, and earrings that come into direct contact. This should include their backsides.
Before Coating: Before applying clear nail polish to jewelry, ensure it is clean and dry so the polish adheres better and provides maximum protection. This will allow it to stick better to the surface, providing optimal adhesion for best protection results.
Use a Clear, High-Quality Polish: When purchasing nail polish for jewelry purposes, look for one without tints or colors, so as not to alter its appearance. This will prevent it from changing how the jewelry appears.
Understand that nail polish won’t stay put forever, it will eventually wash off or wear away over time. To keep your jewelry looking its best, apply clear polish when it appears the other coat may begin peeling away. This way you’ll ensure a long-term fresh appearance!
This method may only provide temporary results; over time the nail polish may become too thick in certain spots, or water will penetrate and begin deteriorating the product.
What Metals Can Clear Nail Polish Be Used On?
Clear Nail Polish can help the gold and silver paint on jewelry stay put longer, as the polish itself won’t cause damage – I tested this theory with several rings and necklaces of mine. But incorrect removal may do just that!
Clear nail polish is especially beneficial in protecting gold-plated jewelry which tends to tarnish more quickly. By coating its surface and protecting against scratches and discoloration – making your piece last longer while looking its best!
How Long Will Clear Nail Polish Last on Jewelry?
It depends heavily on the piece of jewelry being coated. Transparent nail polish on earrings and necklace pendants typically starts to wear off within two weeks; polish on rings tends to wear away more quickly as they’re subjected to daily wear-and-tear such as cooking or cleaning, however daily use could extend its life up to a week if worn continuously.
Benefits of Clear Nail Polish on Jewelry
1. Cost-Efficient Security Solutions
Clear nail polish is a cost-effective and accessible method of protecting jewelry, which can prevent it from tarnish. In comparison to specialist jewelry coatings or anti-tarnish products, nail polish is easily available in most households.
2. Easy Application
Applying clear nail polish to jewelry is an effortless task that doesn’t require any special skills or expertise. All it takes is patience and a steady hand to help protect your favorite pieces!
3. Versatility
Clear nail polish can be used on many different items of jewelry, from rings and necklaces to bracelets and earrings – making it an excellent choice for jewelry enthusiasts.
4. Transparency
As its name implies, clear nail polish dries to an invisible finish when dry – perfect for intricate jewelry pieces with designs or gems that need to be seen through. This characteristic makes clear nail polish suitable for use with jewelry with intricate designs or stones embedded within it.
Limitations of Clear Nail Polish as Jewelry Protection
While clear nail polish offers numerous advantages as an anti-tarnishing measure, it’s essential to recognize its limits.
1. Temporary Protection
Clear nail polish provides temporary protection from tarnishing. Over time, however, its protective qualities may wear off, necessitating frequent reapplication.
2. Limited Durability
Daily wear and tear can reduce the lifespan of nail polish coatings over time, including exposure to soaps, lotions, and perfumes. Therefore, regular touch-ups may be necessary to combat these adverse effects.
3. Not Suitable for All Jewelry Products
Certain jewelry pieces, like those containing porous gemstones or delicate materials, may not be appropriate for clear nail polish application. Therefore, you must exercise extreme caution and determine whether this method suits your jewelry pieces.
Conclusion
For jewelry that remains at its best, clear nail polish provides an affordable and accessible solution to combat tarnishing. Although it acts as an effective shield against external elements that contribute to its degradation, it must be understood as a temporary measure with specific limitations and considerations taken when using this solution.

