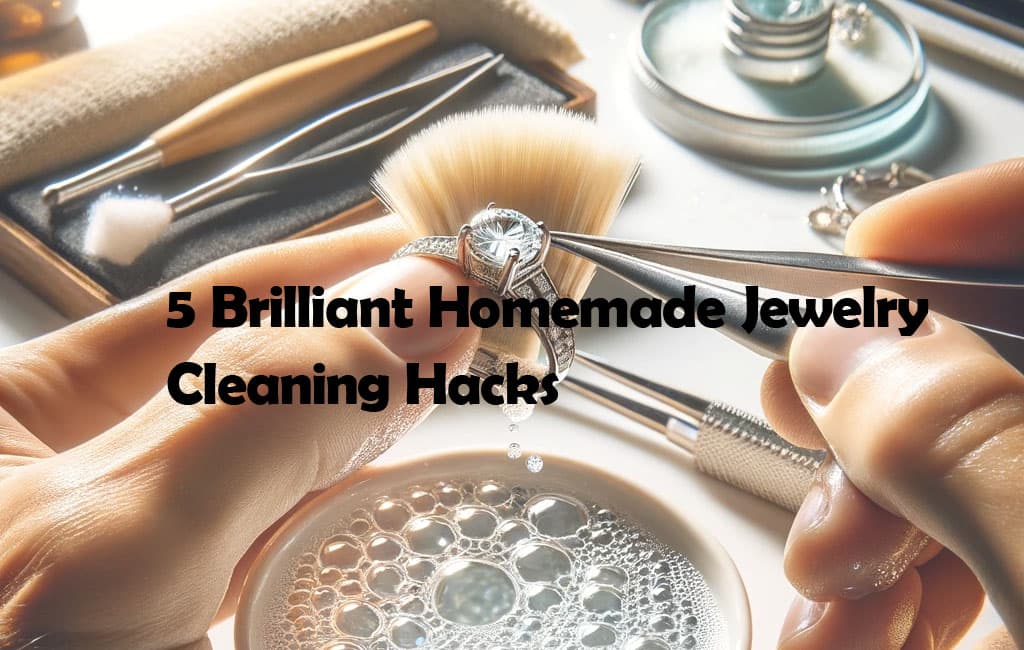
Jewelry, a symbol of beauty and elegance, often holds sentimental value, making its care crucial. Over time, jewelry can lose its luster due to exposure to various elements. This article explores the art of homemade jewelry cleaning, offering you a comprehensive guide to revitalize your cherished pieces using simple, accessible, and eco-friendly methods.
Basic Homemade Jewelry Cleaning Solutions
You might be surprised to find effective jewelry cleaners in your kitchen. Baking soda, vinegar, and dish soap are not just for your culinary adventures; they’re also secret weapons in jewelry care.
1. The Dish Soap Miracle for All Metals
Imagine a solution so simple, yet so powerful in its ability to make your metal jewelry shine. This method involves creating a warm, sudsy bath with water and a few drops of dishwashing liquid. The process is straightforward: submerge your jewelry in this mixture for about 20 to 40 minutes, depending on the level of grime. The transformation begins as the warm soapy water works its way into every crevice, loosening the dirt and grime. For those persistent specks, a clean toothbrush becomes your tool, gently coaxing out the stubborn dirt. The final step is a rinse under clean water, and a thorough drying, revealing the restored radiance of your jewelry.
2. Jewelry Cleaner With Baking Soda or Vinegar
If you’re looking to clean your silver jewelry, including pieces with diamonds, there are effective and safe methods using common household ingredients. Vinegar is a great option due to its mild acidity, which is gentle on various metals and gemstones. To clean your jewelry with vinegar, mix equal parts of white vinegar and water. Soak your jewelry in this solution, then gently brush it with a soft brush to remove any tarnish or buildup, restoring its shine.
For silver items in particular, baking soda is a valuable cleaning agent. Its mildly abrasive quality effectively tackles tarnish without damaging the metal. Create a paste by mixing baking soda with a small amount of water. Apply this paste to your silver jewelry with a soft brush, gently scrubbing to lift and remove tarnish. This will leave your silver pieces looking polished and renewed.
You may want to know about Can You Use Rubbing Alcohol To Clean Moissanite
3. Beer
Gold, with its timeless elegance, requires a touch of gentleness and an unconventional cleaning agent: beer. This method is as simple as it is surprising. Pour a small amount of beer onto a soft cloth and gently rub it over your gold jewelry. The natural ingredients in the beer interact with the gold, dissolving away the tarnish and restoring its natural luster. Remember, this method is reserved for solid gold pieces only, and dark ales are best avoided. Once done, a dry cloth brings back the golden glow.
4. Windex and Hydrogen Peroxide
For diamond rings set in gold or silver, a dynamic duo awaits in your cleaning cabinet: Windex and hydrogen peroxide. Mix equal parts of these in a bowl and let your ring bathe in this solution for 15 to 20 minutes. Windex works diligently to remove everyday dirt, while hydrogen peroxide annihilates bacteria, ensuring your ring isn’t just clean, but hygienically so. After the soak, a soft toothbrush gently scrubs away any lingering residues. Rinse with cold water, dry with a clean cloth, and watch your diamond ring sparkle like new.
5. Toothpaste
Toothpaste, a common household item, possesses a surprising secondary utility beyond its primary role in dental hygiene. It can serve as an effective cleaning agent for jewelry, especially for metal bands and sturdier pieces.
By applying a modest dab of toothpaste onto a soft-bristled toothbrush, one can gently buff and polish their jewelry, restoring its original luster and shine. This technique is particularly beneficial for items that have lost their sheen over time, as the mild abrasives in the toothpaste can effectively remove grime and tarnish without the need for professional cleaning services.
However, when employing toothpaste as a cleaning method for jewelry, it’s imperative to exercise caution and awareness of potential drawbacks. Not all jewelry is suited for this approach. For instance, delicate items or those with intricate designs may not respond well to this treatment.
It is advisable to avoid using toothpaste on items with soft stones, like pearls or opals, as these can be easily scratched. Similarly, toothpaste should not be used on plated items, as it can wear away the plating over time.
Safety Tips for Homemade Jewelry Cleaning
When engaging in the process of homemade jewelry cleaning, it’s crucial to prioritize safety to ensure both the preservation of your jewelry and your personal well-being. The world of do-it-yourself jewelry cleaning offers a plethora of benefits, including cost-effectiveness and the use of readily available household items. However, it’s essential to approach these methods with a careful understanding of safety practices.
Understand Your Ingredients: Before starting, familiarize yourself with the properties of the ingredients you plan to use. Many common household items used in DIY jewelry cleaning, like baking soda, vinegar, or lemon juice, are generally safe, but it’s important to know how they interact with different metals and gemstones.
Avoid Mixing Chemicals: One of the cardinal rules in homemade jewelry cleaning is to avoid mixing different chemicals. Some combinations can cause harmful reactions or produce toxic fumes. For instance, mixing vinegar with bleach can create chlorine gas, which is dangerous to inhale.
Ensure Proper Ventilation: Always work in a well-ventilated area, especially if you are using stronger cleaning solutions. Good air circulation helps in dissipating any fumes that may be produced during the cleaning process, reducing the risk of inhalation of any potentially harmful gases.
Use Protective Gear: Depending on the strength of the cleaning solutions you’re using, wearing gloves can protect your skin from irritation. For stronger solutions, consider using eye protection as well to safeguard against accidental splashes. This is particularly important if you’re prone to skin sensitivity or if the cleaning solution is more abrasive or acidic.
Test on a Small Area: Before applying any homemade solution to your jewelry, test it on a small, inconspicuous area first. This step is crucial to ensure that the cleaning method does not damage or discolor your jewelry, especially for pieces with delicate gemstones or intricate designs.
Avoid Immersing Certain Jewels: Some gemstones, like pearls or opals, are porous and can be damaged by immersion in liquids. Always research or consult a professional to understand the best cleaning methods for specific types of jewelry.
Rinse and Dry Thoroughly: After cleaning, rinse your jewelry thoroughly with clean water to remove any residue of the cleaning solution. Dry it gently but thoroughly with a soft cloth to prevent water spots or leftover moisture, which could tarnish the metal over time.
Store Jewelry Properly: After cleaning, store your jewelry correctly. Keep it in a dry place, preferably in a fabric-lined jewelry box or in a pouch to protect it from air exposure, which can lead to tarnishing.
Conclusion
Embracing homemade jewelry cleaning hacks not only revitalizes your precious pieces but also aligns with eco-friendly practices. By utilizing simple, accessible ingredients, you can ensure your jewelry remains dazzling and well-preserved for years to come.

