Do you own diamonds but you aren’t sure if they’re authentic or fake? There’s a simple method of determining this – using a diamond tester. This useful device makes use of the chemical properties of diamonds to determine the authenticity of the diamond.
We’ll give crucial information about what you should be aware of regarding diamond testers as well as how you can use them.
So, let’s get to the point!
What is a Diamond Tester?
Diamond testers are tiny portable devices that can test whether diamonds are genuine. They are designed with a compact rectangle body shape, the devices typically come with a needle mounted above and a display or sound that beeps integrated into them, so that you can see the results. This is done by sending either electricity or heat (depending upon the design) straight to the gem, and then measuring the speed it is able to conduct the energy.
The biggest drawback with the majority of testers of diamonds is the fact that they are unable to distinguish moissanite from a diamond different.
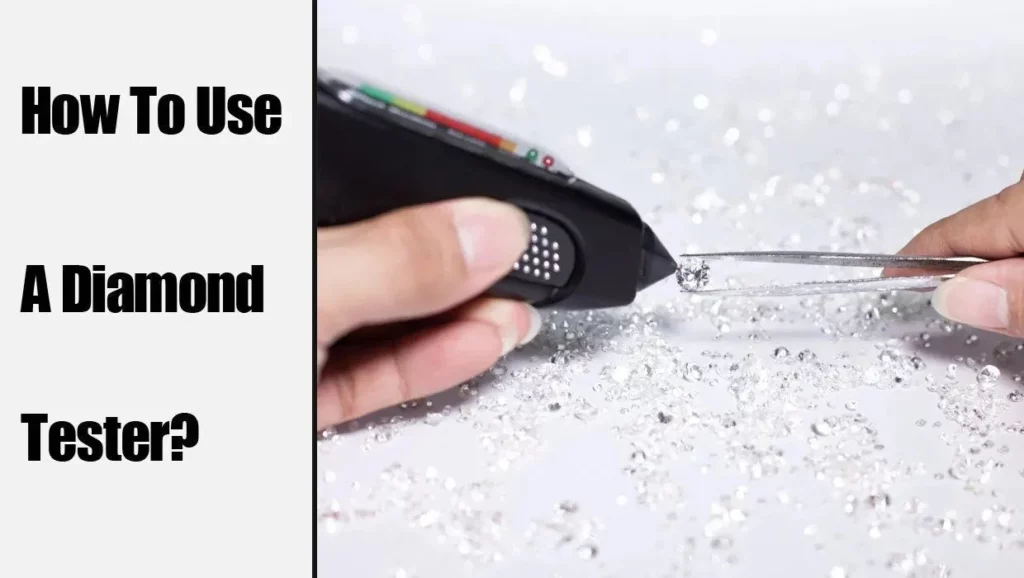
How to Use a Diamond Tester?
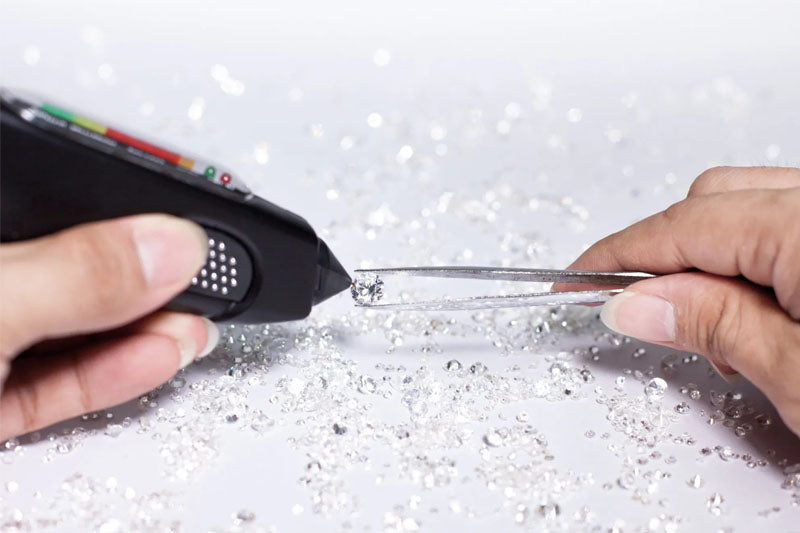
First, turn On your Diamond Tester and make it”Diamond” setting. Take approximately 20 seconds to allow the probe to get fully heated. It will be clear that the probe has been heated to the correct temperature when the light bulb begins to blink a solid green and give a brief beep.
After that, when you are you are prepared to test the tester, remove the protective cap from the probe’s tip. To test, you must do this with a firm grip and with a right angle for perfect results. It is essential to have a steady hand. Pressing the test tip will suffice. Do not move it on the diamond as you may risk breaking it due to the diamond’s hardness.
Also, ensure that the probe isn’t in contact with anything else than diamond for accurate results.
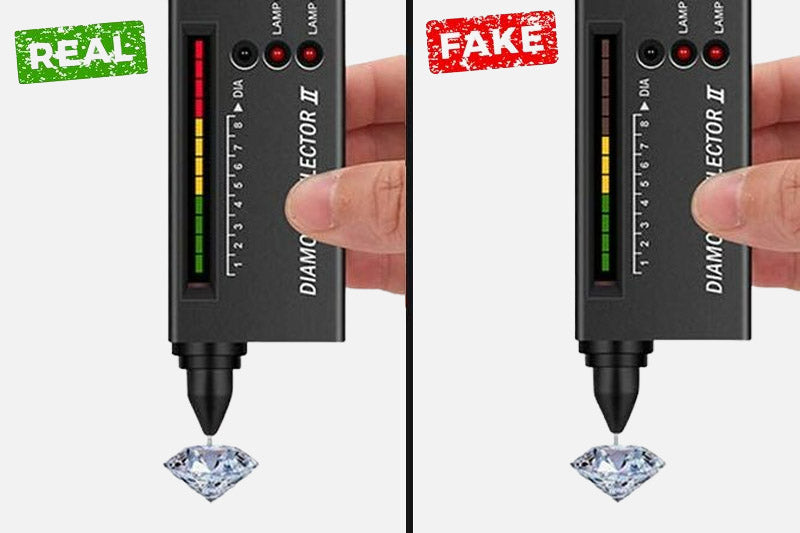
- If the lights don’t change or change, it’s a sign that the stone you’ve chosen isn’t a diamond.
- If the light source is illuminated slowly and doesn’t show a diamond, that means it’s a gem, such as a sapphire.
- If the lights are brighter than nine on the selection that is up to Diamond It means that the stone you’ve chosen is diamond. The entire bar from green to red will be lit up and then there will be an audible.
- Place the rubber back on the test tip when you’re not making use of it.
Be aware that if the probe’s tip comes in contact with a metal object, the tester will sound an ongoing beep.
Important Note
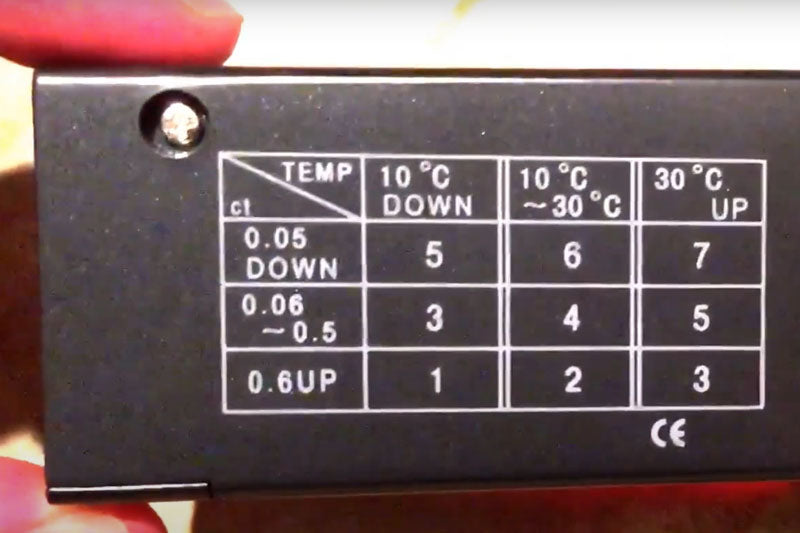
The sensitivity that you choose to use when you select this option will depend on the dimensions of the diamond and the weather. Check out the chart for numbers. This chart will help you decide in determining which segment number to begin from.
If you test the same diamond too many times, it will get heated and the results of the tester will show that the stone isn’t an actual diamond, even though it is. Therefore, don’t test the stone for too long and, if it gets heated up, let it cool for around three minutes.
After you’ve tested the diamonds, shut off the tester, then return it to the case to be stored. For the most efficient usage of the tester in the future, make sure you don’t expose it to dust or humidity since it is equipped with electronic circuits with high precision that can be damaged by elements. In addition, it is not recommended to remove the other parts of the tester, unless it’s the battery compartment.
How Reliable Are Diamond Testers?
Diamond testers are among the most precise tools used to verify a diamond’s authenticity. But, it is important to know that test instruments that depend on thermal conductivity may make the mistake of thinking that moissanite is a diamond due to the fact that both stones are alike in how they transfer heat.
This issue can be solved by making use of a device that utilizes the conductivity of electricity to determine the conductivity of stones. Diamonds and moissanites conduct electric currents in different ways.
You may be interested in knowing Does Moissanite Pass Diamond Tester.